
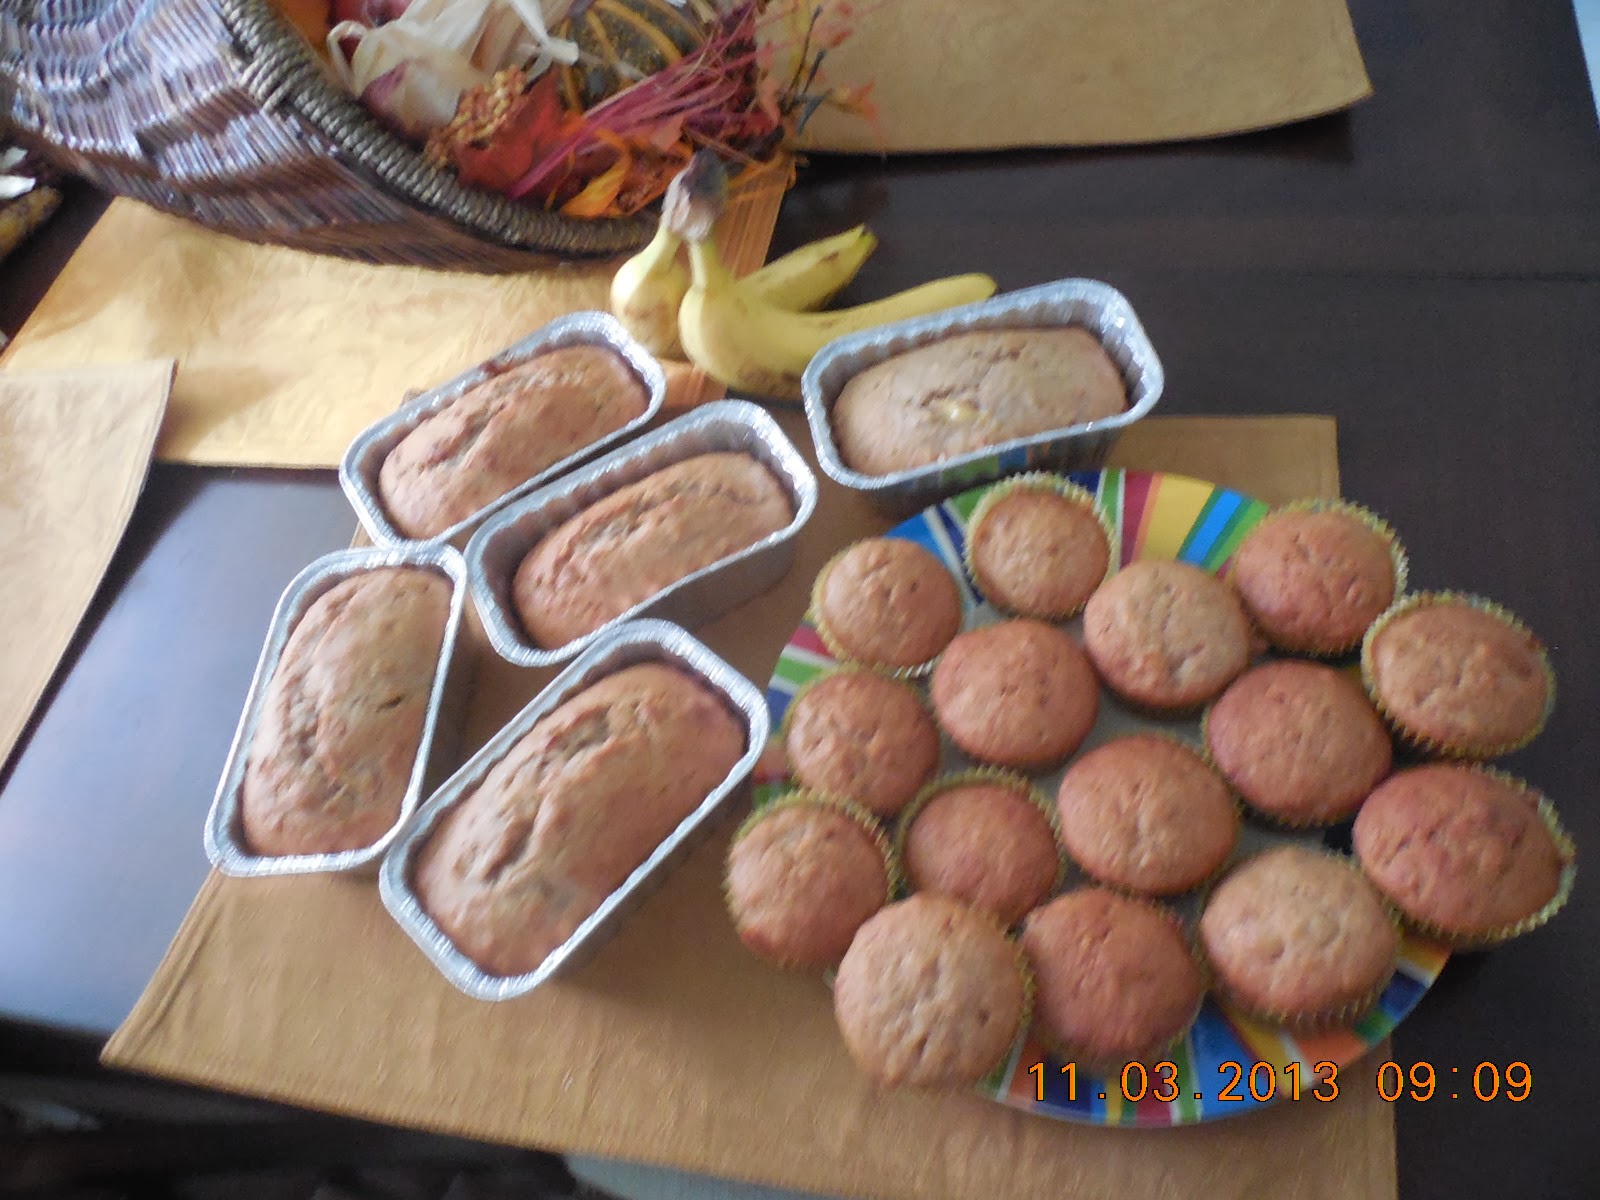
I also love to share what I make, so the pictures that I have developed actually demonstrate a double batch. This recipe does call for buttermilk and really ripe bananas. If your bananas aren't ripe yet, place into a brown paper bag for a day or two. This helps in the process. Sometimes, I have recently gotten leftover bananas from the school cafeteria. They normally have to throw this away as the kids don't eat bananas. So I make this and share with the cafeteria ladies. This is great for gifts during the holidays, which I plan to do.
Remember, some of the pictures demonstrate that I was making a double batch. Enjoy the recipe.
Ingredients:
1 1/4 cups sugar
1 stick butter, softened
2 eggs
1 1/2 cups mashed ripe bananas
1/2 cup buttermilk
1 tsp vanilla
1 tsp cinammon
1 tsp nutmeg
1 tsp cloves
1 tsp all spice
2 1/2 cups all purpose flour
2 tsp baking powder
1/2 tsp salt
1/4 tsp baking soda
1 cup coarse chopped walnuts (pecans will do as well)
First, start by heating the oven to 350 degrees. Grease the bottoms only of 2 8 1/2 x 4 1/2 or 1 large loaf pan.
Mix sugar and butter in a large mixing bowl. Stir in the eggs.


Add the mashed bananas, buttermilk, spices and vanilla until smooth. Beat until smooth. The bananas can freeze well and you needed to thaw out and it would ripen well.


In a separate bowl, sift the dry ingredients through a sifter. Stir in flour, baking powder, salt and baking soda into the wet mixture until the flour is moist.


Chop up the nuts if you haven't done so. Finally, stir in the walnuts. Pour into each of the pans. You can also make these into muffins. It's a great way to have individualized bites of yummy goodness.


Bake the loaves for about 1 hour. If cooking a large loaf, add an additional 15 minutes. The best way to check if it is ready, use a toothpick. If the toothpick comes out clean, then it is done.


Cool for about 5 minutes. Loosen the sides and take out of the tins. Place onto a cooling rack and allow to cool completely.

Keep in mind, you can eat it while its still warm, but you need to keep refrigerated for up to a week and a half. Hope you enjoy!
No comments:
Post a Comment